Thursday, 29 May 2014

DIY Project Recap: Starbucks Coffee Cup Baby Rattle

One late-night Pinterest session, I stumbled upon these awesome baby toys that are fake food made of felt - fiffer-feffer-feff. (Search 'felt food' - you'll find a load of results as well as a couple of basic free tutorials).

It got the creative cogs in my brain a-turnin' and I thought it'd be a pretty fun to make something for the Master to fake-nom on. So I got to pinning some inspiration pics.

Check these out:
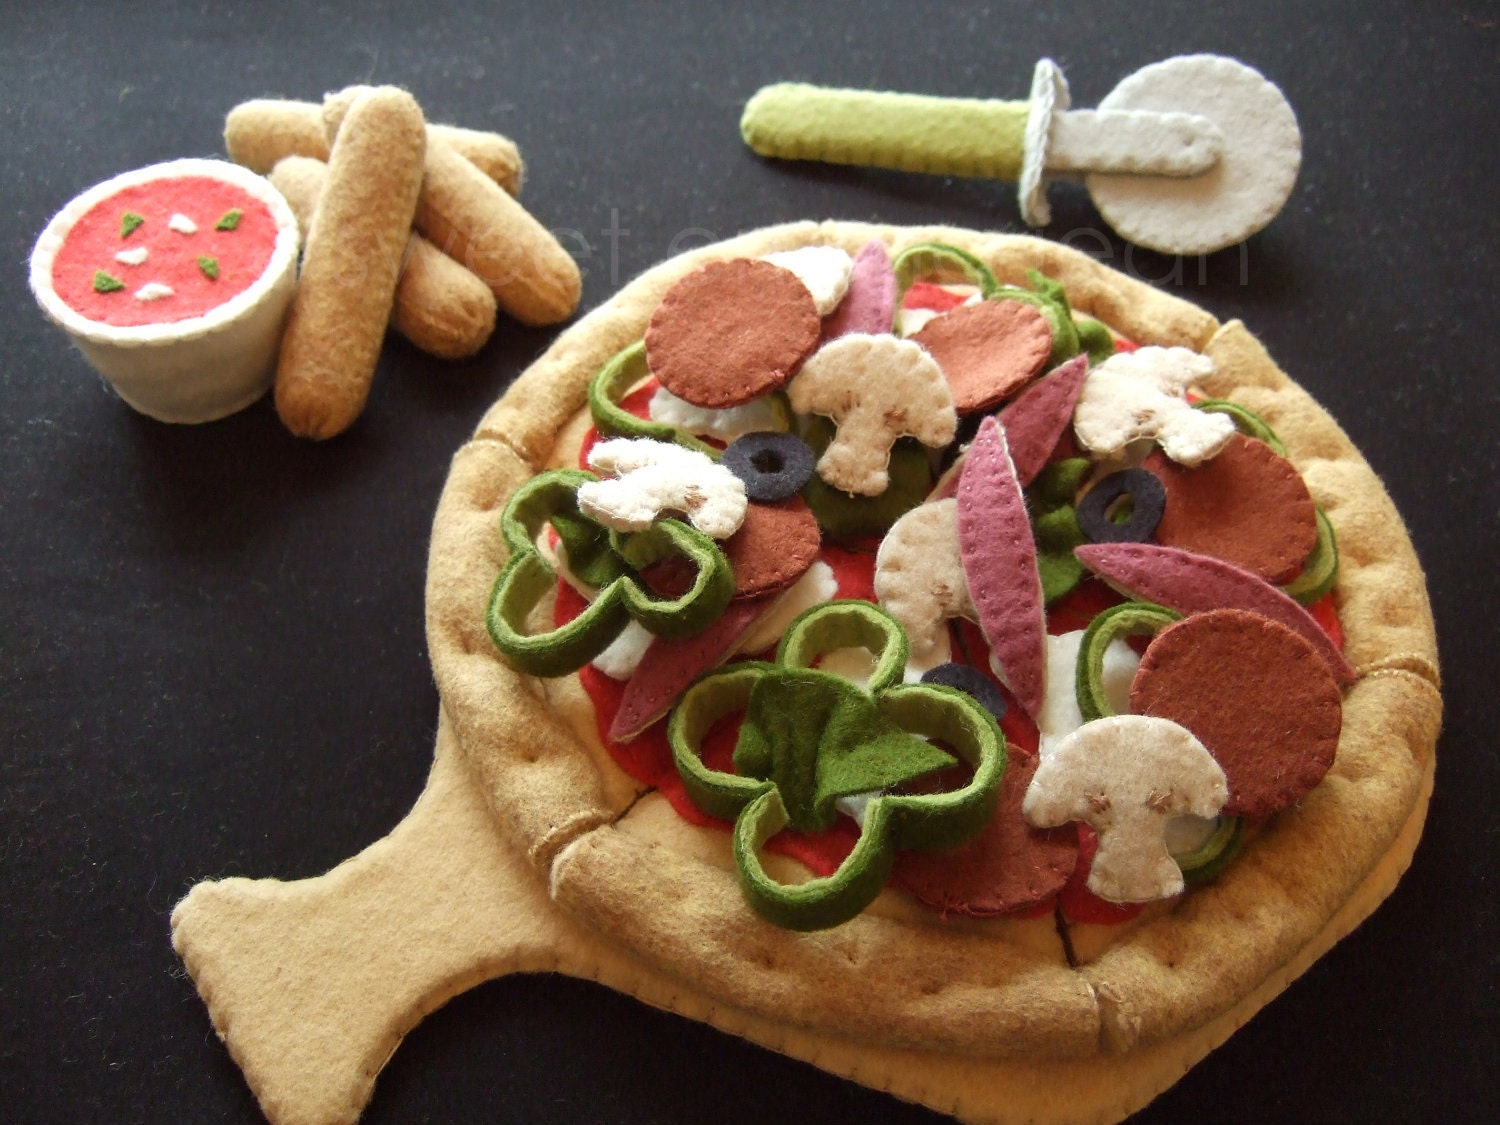
Sweet Emma Jean (buy pattern here) - Etsy

Felt food *fruit cake * no.01 ---PDF pattern---
Felt.co.nz (buy pattern here)

Felt Playground (buy pattern here) - Etsy

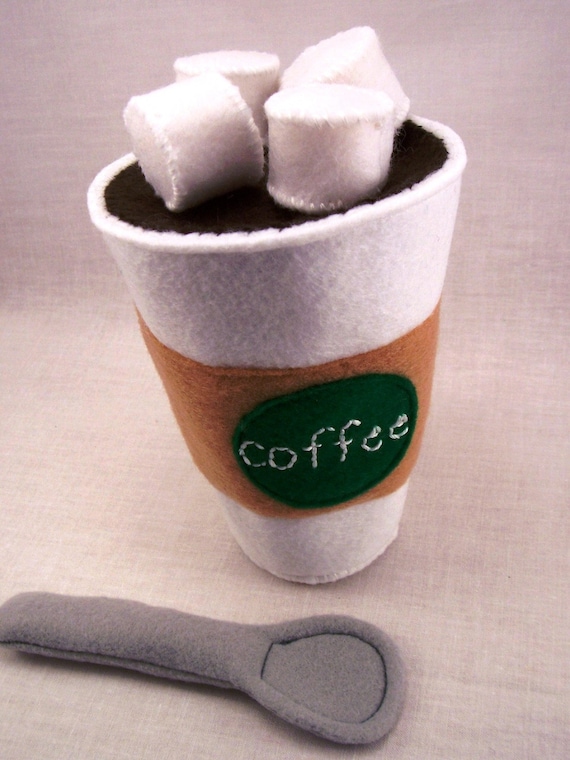
That last one in particular tickled my fancy - isn't it cute how the colours sort of remind you of a Starbucks cup?? It looked simple enough and not as time-intensive as the others so I thought that'd be a good starting point. But I didn't like the bland 'coffee' on the front and thought I could possibly make my own version that I liked better.

And being the cheapo that I am, I decided to flag using a pattern altogether and wing this entire thing. I highly advise against doing that. If I were you, I'd buy the pattern. 

Anywho, here's my finished product.

Tada
Mmm... chocolate sprinkles (done with brown embroidery thread)
Order up

Yeah it took me a long time cos like I said, no pattern. Idiot. It's also all completely hand-stitched. Mofo. 

As for how I did the logo part, I googled Starbuck's 1992 logo because I'm not digging their newer logo. I drew the mermaid part onto cardboard, cut that out, traced it onto white felt fabric, cut that out, then sewed it onto a circular piece of black felt with white thread. 


My quick scribble of the Starbucks mermaid on cardboard - this is what I traced around onto some white felt fabric (the coin's there just to give you an indication of size... pretty irrelevant if you've no idea how big an NZ $2 coin is hah)

In-process shot: after I cut out what I traced onto the white felt, I sewed it onto the black circular piece of felt with white thread, then I sewed on the details with black thread

I don't have any shots of the stage where I sewed on the writing or the white border but I used a thick embroidery white thread for it. And I also don't have any shots of the cup-making process - a lot harder than it seems, dang it. 

The lip of the cup was pretty easy: I just curled it over at the top and sewed it down. Not rocket science there luckily. 

The lil guy ordered a decaf mocha

Aaaand I have no other photos of the progress sorry. I seriously just winged this entire thing. I used a fabric pen to do any designs and back-stitched for the written portions (above). I used thick black embroidery thread for the big X and his name to make it look like a barista scribbled on it with a big marker like they do in the shops :) 

The cardboard sleeve bit is just a large piece of tan coloured felt - the best way to do this if you're going rogue and sans-pattern like me, is to cut out a big enough piece, pin it onto your cup and draw with a fabric pen where you want to cut it. Reason being... a 3-dimensional object... when it curves man.... it does something weird. You'd think it's a straight line right? It's not. When you flatten that circular object it freakin' curves, ever so slightly. 


DIY Trade - crazy science

Oh and finally, the rattle-y bit: I bought some bells from Lincraft (they were around $4), I put them into an empty M&M pottle, taped that up, put it at the bottom of the cup then stuffed the rest of the cup with poly. There's some batting at the bottom - ideally I would've used batting all the way around that M&M pottle but there wasn't enough room - doesn't show through anyway. I can't remember if I used batting around the rest of the cup... ::shrugs:: 

See what happens when I wing a project?? I can't give you a decent tutorial!! Sorry. 

One last look at the cuppy.

sub-par lighting~

Hah. Hope you enjoyed!


A.V.

Sunday, 25 May 2014

Photo Dump: OOTDs and Other Such

Wow - where'd the week go? Is it the end of the week already?? I've been pretty slack this week; instead of doing anything productive in the creative sense, a lot of time was spent in front of the screen just catching up on GoT. I watched the first season with some interest, couldn't be bothered with the second and third but read all the synopses on them, have been up-to-date with the fourth so far and have suddenly become interested in catching up. Thus, my week is gone. And thus, I say crap like 'thus' cos my brain is all in Game-of-Thronesy-speak. How bad-ass is Tyrion? He was definitely one of my characters since the very first episode and everything I've watched so far has solidifed my enthusiasm over him - no spoilers here. Just lots of woots: wootwoot!! Everyone loves a smart man, no? ^-^ 

I have no real content for you today, just a photo dump - ancient stuff here. And I mean, last year sort of ancient. I could go even further back... for some reason I just have piles and piles of these sort of photos. I don't have Facebook so I've had absolutely nowhere to put these snaps. Isn't it just pitiful?? Can you imagine?? "MAN I look purdy," *snap* "WOW what a purdy photo of me lookin purdy..." ... ... ... *crickets chirp*

Thank you blog. You've justified my crazy.

What I wore to the wee man's Christening: Mango top, Zara coat, Korean skirt and shoes (forgot the brand), Cotton On belt, Alexander McQueen scarf

Kmart tank top, Jeans West singlet (layered underneath), Cotton On (Men's) chambray, Witchery leggings, Glassons studded loafers, Vero Moda anorak, Prada tote, Chanel scarf (tied onto bag), Michael Kors watch

Accessories: Marc by Marc Jacobs key pouch, Marc by Marc Jacobs rubber bracelet, MK watch, House of Harlow ring, wedding rings

Some sequinned fold up flats I keep in the car (just in case!)

Kmart sweatshirt, Splendid reversible sherpa vest, V&S jacket, ASOS jeans, ASOS leather boots

Waiting with the faux dog for the Master to awake from his slumber so we can go out

What my mornings used to look like - morning coffee, draw on the face, listen to some music while the Master slept

The battlefield

Designated area for the Master's noms. The Green Monkey brand tastes AMAZING! NZ-made, certified organic and babies love the taste. 

ASOS maxi, Country Road cardigan, Cotton On belt, Kmart heels, MK watch, MJ bracelet, Belle Noel bangle

The Master's hair used to stand up on end for some reason - no product necessary, just a Saiyan baby.

ASOS shirt, ASOS jeans, Kmart heels, MJ bracelet, MK watch

The Master's big-boy seat - this thing can rear-face for toddlers so it's incredibly safe

A shoe family portrait - can you tell I'm obsessed with a certain cheapy pair from Kmart?? They were $19 and I can't tell you how many people have stopped me to compliment these babies. Added bonus: since they're block heels they're ultra comfy and steady (for heels anyway)

Watching some NFL - got to start them young. This is back when we had the baby jail going!

Xmas dinner attire: Free People dress, Country Road tank top, Belle Noel bangle, Kmart heels, Xmas accessories from dollar store

Country Road metallic knit sweater, vintage Levi's cut-offs, Wolfords, No.1 Shoes ballet flats, Mimco necklace, MK watch

Switched out the old glass dining table for this Rimu beauty

Training to become a football super star like Alessandro Del Piero ^_<

Chicken-stance - helped him keep his balance I guess when he was new to walking

Sorry about the irrelevant photo dump. I'll have some proper content this coming week - I've fully caught up with GoT so I'll be rejoining real life again. Also, The Mentalist is finished, Suits isn't back till mid-June and I've no idea how behind I am on Vampire Diaries... last episode I watched Elena had only JUST become a vampire. Die-hard fans just spluttered because I'm really REALLY behind. Yeah. So I'll be productive this week, I think! I hope! Unless some new show sucks me in... please don't!!! 


A.V.
Wednesday, 14 May 2014

Nursing Cover 'Tutorial'

As I mentioned in this post, I was supposed to post my wee 'tutorial' on how I made my nursing cover. There's not much to it but here it is anyhow!

Here's the inspiration:
Dria Cover - The Mama Maven

I wanted to buy the real deal and save myself from making one as I was busy in the middle of creating the Master's nursery (which was a crash-makeover done in under a month), but alas, I don't think they even ship to little ol' New Zealand. Boo.

I did look at buying other nursing covers but for some reason they all look like aprons and even the tutorials online for making nursing covers are all of the apron variety. No, I wanted something that could pass as a regular top. And the bonus of this particular nursing cover is that it covers all around the back so there's no fear of accidentally exposing some back muffin top sweetness.

Double bonus: it's multi-purpose, so you can you use it as a stroller cover or capsule cover as well.


Materials:

  • stretchy lightweight knit fabric (I bought 1.5m from Lincraft - see pic below)
  • sewing machine
  • thread to match
  • tape measure or super wicked long ruler
  • sharp scissors that haven't been near sticky tape
  • pins - a crap load
Same range of fabric just different colour to mine (which is grey)


Instructions:


The best way to describe this poncho nursing cover thing is that it's a big ass rectangle with a neck hole in the middle. 

The End.


Just kidding. Here's a helpful little picture I whipped up Paint. If you couldn't tell, I'm Picasso reincarnated. 


Sorry if it's a little hard to read - just click on it and BOOM it'll be big. 

As for the raw edges, I just roared through it with my little Singer sewing machine. If you've got some fabric scraps left, I highly suggest you do a practise run. 

Put the setting to zigzag (a MUST when you're working with stretchy fabric - otherwise there's no give), fiddle with the stitch length as well as the width. Keep running it through until you hit the magic combination. Stretchy fabrics are notoriously difficult to work with, but I found it ridiculously easy once I'd found my sweet spot with the combination. It took me 1 minute max to figure out what worked well for my fabric and I ended up whizzing around all the raw edges in no time. 

Just fold the edges over a little, pin down and whiz through. 

Yup. My sewing skills are totally pro. Of course I read the instruction manual what are you talking about. o_o;;

Anyway, lousy finished product photos!!


Tada!
Almost 6 months preggo here - seriously tiny baby bump
Here it is on the capsule - because it's stretchy, you can tie it up!

I wrote about our Maxi-Cosi capsule and how handy it was for us during the infancy stage in this post. (And actually it would have been handy if I'd used this pic for that post! I only just found this deep in the dusty crevices of old Picasa collages).

Sadly, the master refused to nurse so I can't speak from experience about it's nursing-covering abilities BUT I did use it when the Master went through a particularly bad growth spurt and the only way I could get him to nap was to carry him for the entirety of the nap. The cover helped block out visual distractions while he tried to sleep. (This is before we read that when sleep regression happens, you've just gotta enforce nap times no matter the amount of screaming - within reason of course). 

Sleeping bub
Hangin' from his sling - my arms got too sore carrying him so the sling was awesome
View from the top

As for how this performed in the wash, I just threw it in a delicates wash bag and let it go for a quick 30min cold wash and let it line dry (despite the fabric instructions. I'm a rebel!).


And as for how I got the small fart to go back to napping at his usual times, I just put him down, tucked him in, ignored the screaming for 30mins, went back in, picked him up and consoled him. Rinse and repeat. If after 1.5hrs he was still up, I just brought him downstairs to try again for the next nap. After just 1.5 days, he went back to napping no probs. It may have helped that I'd previously done sleep-training with him twice before. So this was our 2nd refresher course.

His sleep pattern has changed once again since (rises later in the morning, later naps that are shorter) but it was nowhere near as difficult as that sleep regression phase. He still goes down happily and lies in his crib till he falls asleep. Or if he's not tired, he just plays in his crib until I get him. 

(Every baby is different. I personally chose a more 'tough love' approach, but don't let others tell you what to do. You know your baby best, you do what suits you and your baby best!).


A.V.

Sunday, 11 May 2014

What's In My Bag...

I don't know about you, but I just luuuurve these sort of posts - you know the ones that peek into one's handbag, or take a sneaky peak at one's dresser/vanity or wardrobe? Call me Pervy McPervason, but I just love how they reveal so much about a woman; whether she's the 5-minute-and-go-no-nonsense type, or more of a labour-over-every-eyelash type... I definitely fall into that latter category, even though I aspire to be more like the former. I don't know what it is about those effortless types that seemingly flip the bird at all those contouring tutorials on Pinterest and go You know what? Stuff you, bronzer. but still manage to look so stinkin' lovely. Must be all in the attitude. What do you think??

Anyway, here's what's in my bag. I just got home from the mall the other day and took photos of its innards. I like the spontaneous What's In My Bag photos, not the one's where the owner has obviously carefully curated its contents and culled any messy human-y things and made it look more like a magazine spread of what one SHOULD carry in an imaginary perfectly baby poop-free existence... 

Nah. This is real life man. 

This is what I carry when I'm going out with the toddler who has already eaten lunch (and done his "business" for the day) - it's a whole 'nutha story (and different handbag) when we're going out for lunch... and I anticipate toddler thunder down under. Sorry. Real life. 

And on that poetic note, I present to you, my bag. Or as the Americans call it, my purse. Teehee. Sounds so ladylike. 

Side snaps opened up to allow for more stuffage
Oh hey there, you're lookin' fiiine...
You know who's lookin' fine tonight? Seth Mosakowski. Name that movie. 
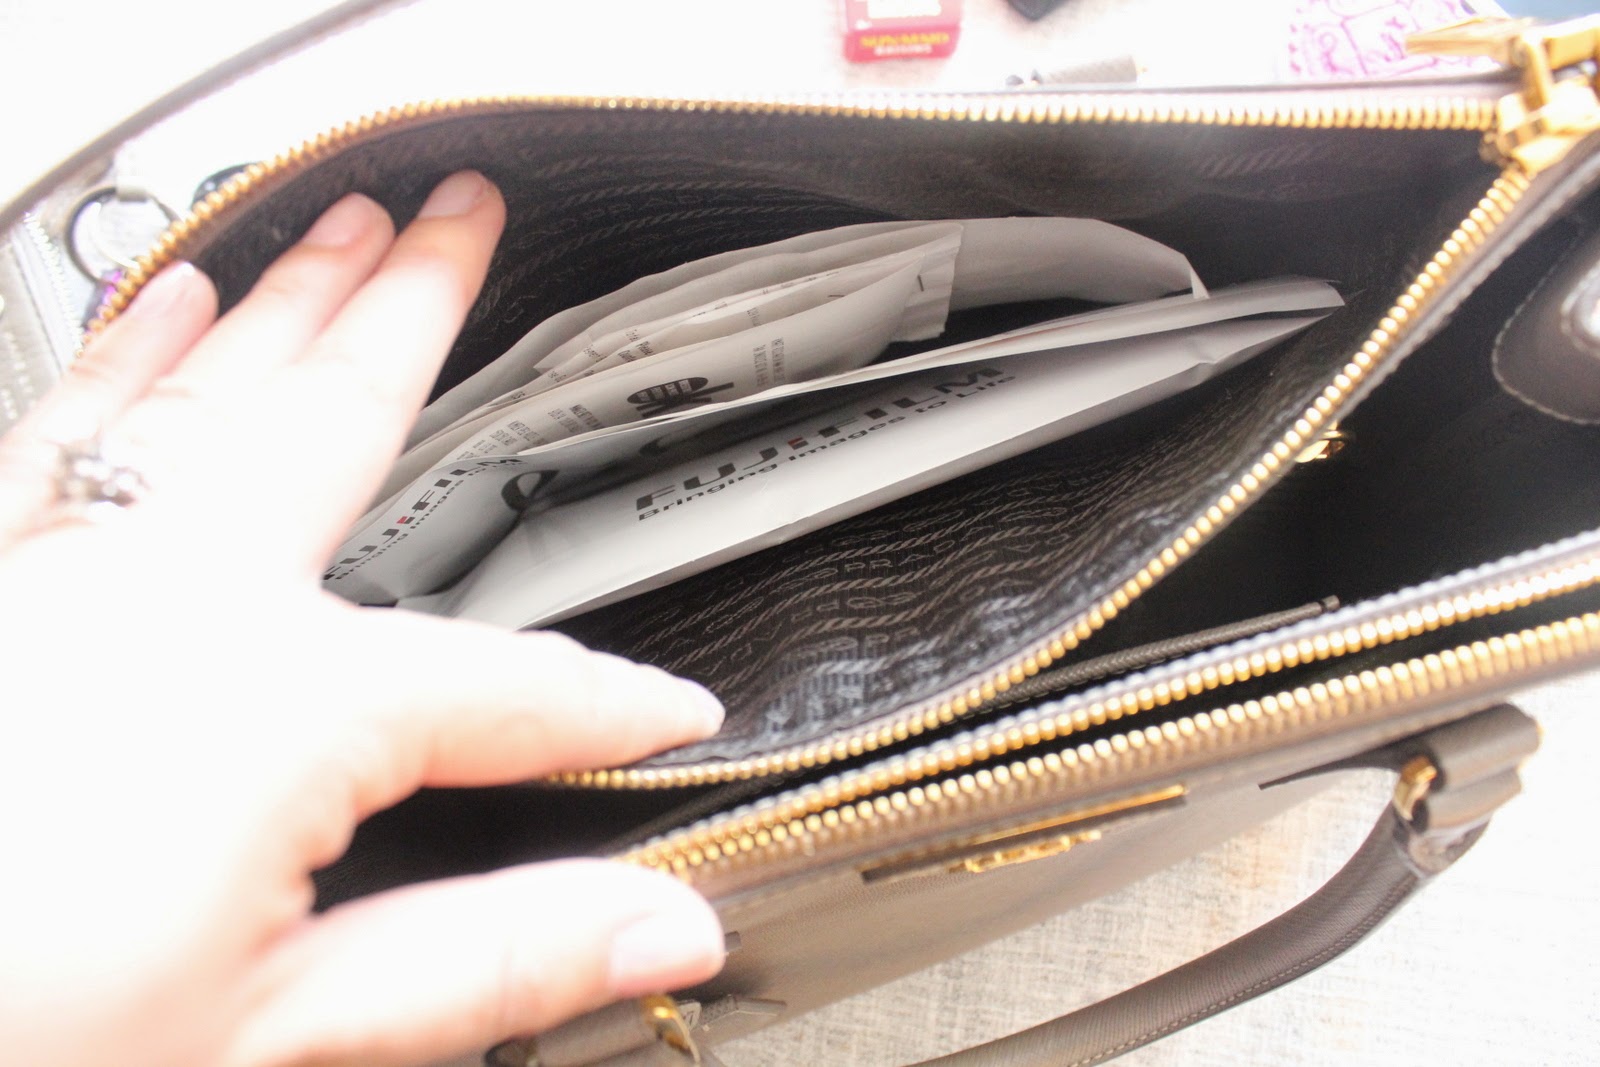
All the business (L-R sort of): snack cup, sippy cup, food pouch, oil papers case, cracker wrapper, wallet, tissues, receipts, photos, dangly bag hook, Raybans, phone, raisins, pen drive, coin purse, Baby Lips, NARS lippie, Stila powder, hand sanitiser, hand cream, keys, wet wipes PHEW
Mirror, lip stuff and powder goes into the inside zippered pocket
Pen drive and card thingamajig that came with the bag go in the small inside unzippered pocket
Receipts and photos in back zippered pocket
Hand sanitiser and hand cream - so cute! They're from Etude House and both smell lovely!
Wet wipes in the front zippered pocket
Everything else just in the main compartment: sunnies, snacks, keys, wallet and sippy cup

Hope you enjoyed!

How's your bag? Do you even carry a bag? Maybe you carry a purse. In that case, what's in your purse? Is it neatly organised? Do you carry your entire life with you? Have you run out of gum like me? Do you have a cutesy pink macaron coin purse from the kids section in Whitcoull's too? Do you have bag hook dongle too? I dunno. I just love this sort of stuff. I'm now off to browse Pinterest and be all Peeping Tom at more purse innards. Oh yeah. 


A.V.

Saturday, 10 May 2014

Holiday Beauty Kit: Laura Mercier Artist Custom Portfolio

Recently I did a post on the Art Deco Beauty Box (customisable palette). I was wondering if I'd really just stick to using this one palette while on holiday, or cave and take a slew of other products. While I was tempted to take some back up, I did my best to keep it as minimal as possible - which is, by the way, SUPER difficult when you're planning a night out and it's imperative to bring in the big guns to make one's fancy face.

It's not what I'd call light packing, but I still think I did ok considering the mission.

Below are photos of the whole arsenal. I lie; there was actually one separate toiletry bag that housed boring essentials such as moisturiser, sunscreen, toothbrush, floss, mouthwash, etc.etc. But I don't need to bore you with that. Let's look at the fun stuff!

Hard shell to protect the contents
Two zippered pockets on the left, brush pockets on the right
Flip the brush compartment over, two more zippered pockets on the right
The pockets are detachable - they're magnetised
Just a capped powder brush, foundation brush and eyeliner here
My friend that lives in London brought this over for me as it's pretty hard to find - they don't stock Laura Mercier at all over here. I normally buy any Laura Mercier via Strawberrynet.com

This custom portfolio also came with two customisable palettes: one takes 3 pans, the other takes 6. But like I said, it's pretty hard to buy Laura Mercier so I won't be filling those up any time soon...

Price-wise, I'd consider it a bit of a splurge... around 65 pounds I think, so roughly NZD$125 depending on the current conversion rate. 

Anyway, here are the contents:

Trying to keep it minimal
Close up - I tried to use as much mini's as possible
Bobbi Brown Shimmer Brick, Art Deco Beauty Box, Stila foundation stick (used as contour), Bobbi Brown Gel Eyeliner and Art Deco Eyeshadow Base
Shu Uemura Eyelash curler, travel perfume atomiser, Estee Lauder mini travel kabuki brush
Making the face: Body Shop face primer, Missha BB Cream, Rimmel foundation, Stila foundation stick (contour), Stila pressed powder, L'Oreal loose powder, MAC fix spray (in a travel bottle)
These items were all I needed in my hand-carry: NARS Velvet Matte Lip Pencil in Dolce Vita, Maybelline Baby Lips, Stila pressed powder, Anna Sui oil papers


A.V.